How To Freeze and Thaw Cake [without Crystals or Freezer Burn]
STEP 1. BAKE AND REST
Following the procedure is basic, for you to succeed in freezing and thawing a cake WITHOUT freezer burn or those dang crystals (water).
Many people freeze the cakes while still warm. This is… not good.
Placing the hot cake in the freezer has two very negative consequences: the first is that a hot cake in a freezer increases the internal temperature of the freezer and may affect other products that need the constant temperature very low and you can damage them, not to mention the possible damage to the freezer.
The second is that the steam freezes and creates a whitish film that is not pleasing to the eye and is almost water on the cake, so the solution is simple, let it cool completely.
STEP 2. WRAP THE LAYERS
The only variation if you freeze layers is to wrap each one separately because if you don’t do it, with the moisture it acquires the layers that you had cut “stick” together again and if they are small layers they may break if you try to separate them when defrosting and you can break them on the way, I tell you this from my own sad experience!
Don’t bother cutting excess before you freeze a layer. You can freeze the cake and cut it once frozen.
You reduce the crumbs when cutting and it’s much easier to have a perfect cut.
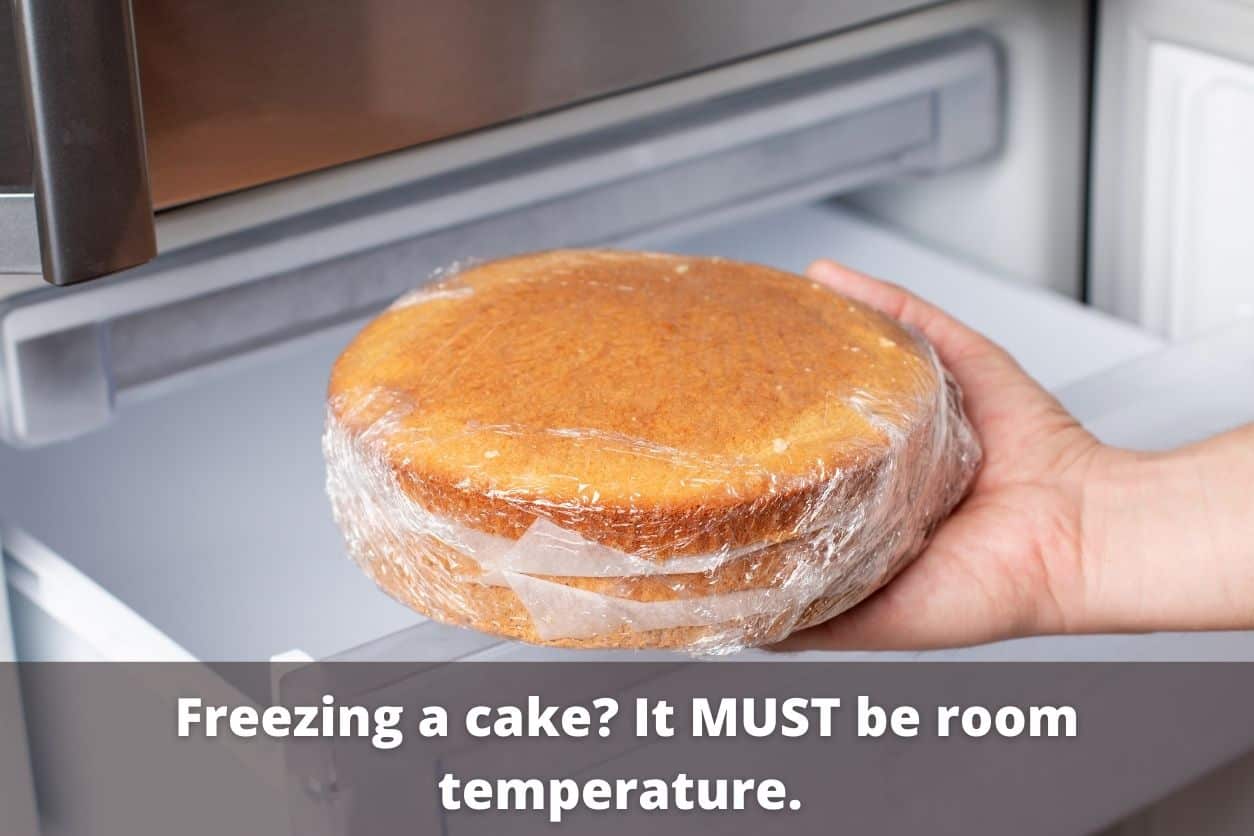
When the cake is half cooled, more or less 60 minutes, place a cardboard base (wrapped in plastic wrap so the cake does not absorb the smell) the same size of the cake or maybe a little bigger, but only a little; the cardboard base gives support to the cake when you handle it and place it in the freezer and avoids accidents.
Then wrap it with plastic wrap to trap the moisture, you will know you have done it right if you don’t see drops on the foil when it is completely cold, if you see drops change the foil and adjust the time next time.
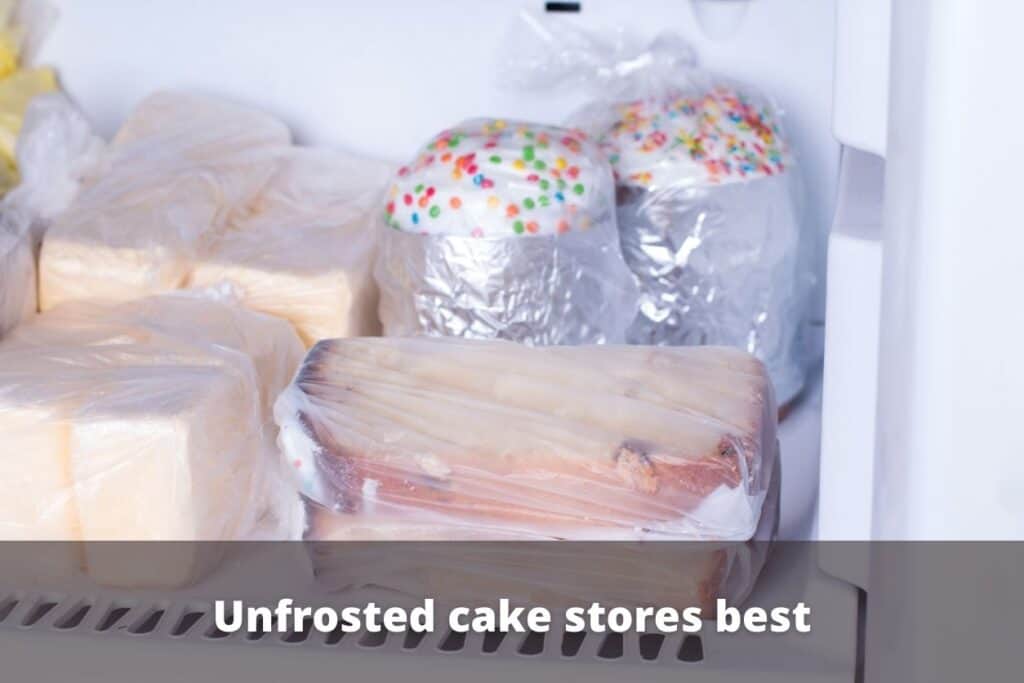
When it is completely cold wrap again with plastic wrap and optionally seal with aluminum foil.
STEP 3. BAG AND IDENTIFY
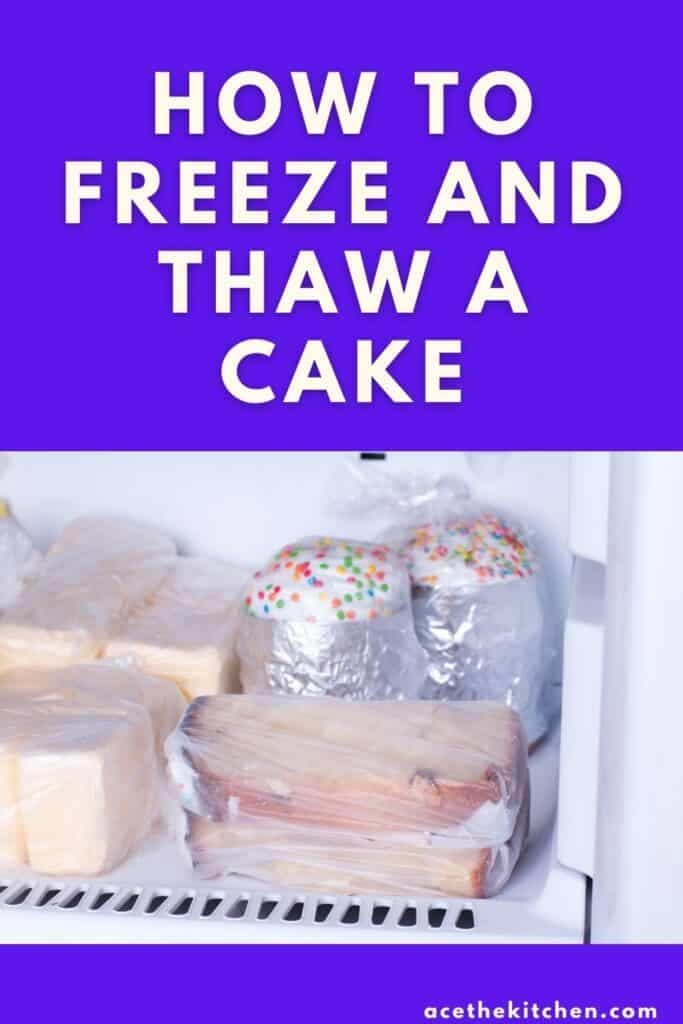
Once finished, if you have a large enough airtight bag wrap and seal it, I’m one to go overboard and seal as much as I can and every time I skip a step or some wrapping I feel like it’s missing.
I don’t always follow the rules to clearly identify the cake, only in two cases: first, if there are several projects in the freezer and second, when I’m not sure when I’m going to use what I baked.
It can also happen that I bake for example my complete brownie recipe (if you want it tell me in the comments) and I reserve half of it in the freezer for another project.
In any case, it is important to at least identify the date, but while you’re at it why not put the type of cake, because once it is all lined you save having to open each cake to see if it is the one you are looking for, but it makes no sense if you freeze on Tuesday to work it on Friday and it’s only one!
STEP 4. REVERSE THE PROCESS, THAWING THE CAKE
Thawing the cake also has its procedure to get the effect we want and the first thing is to remove from the freezer and leave at room temperature, just as the freezer is your friend, the fridge is completely your enemy because it dries out the cake.
Do not remove the wrappers, just the foil and let them thaw completely wrapped, that makes the condensation concentrate on the plastic and not on the cake so you would have a completely dry cake and a plastic with visible droplets, that is what we want.
The thawing time depends on many factors: your recipe, the freezing temperature, the size of the cake, the room temperature, among many others, so I can’t tell you the exact time, but just by touching it you will know if it is already fluffy or still frozen.
To me, it thaws while I prepare the buttercream and the assembly area, but I would calculate more or less 2 hours to be sure, and half an hour more when you have removed the plastic so it is completely dry, while I do the rest of things, there is always something to do!
When it is ready I remove the rest of the wrappings and cut the layers.

![How To Fix Undercooked Rice [Easy Fixes]](https://acethekitchen.com/wp-content/uploads/2022/08/how-to-fix-undercooked-rice-768x512.jpg)

