How To Make Fondant Dry Faster [Steps]
Tricks to Dry Fondant Faster
Today I want to talk about what we can do to speed up the fondant drying process, some of the most important pre-drying questions and methods to dry fondant as fast as possible, how to store the dried pieces, and finally how to dry the condensation that forms on fondant covered cakes when exposed to the humidity of the open air. There is a lot to talk about, so let’s get started!
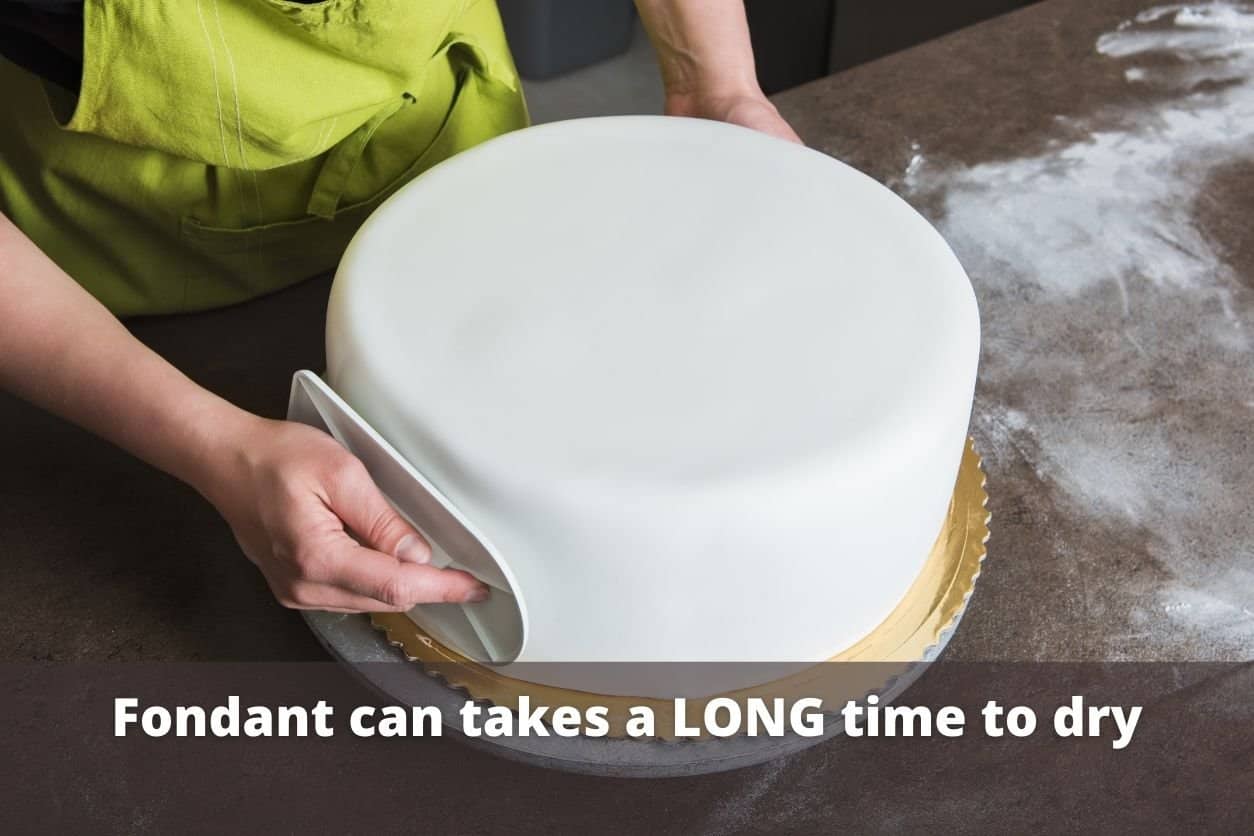
It is an indisputable fact that in baking things hardly ever happen when we need them to happen, if you don’t want your fondant to dry out you will see cracks start to appear, but when you need a piece to dry then hours and hours go by without a speck of moisture leaving the fondant.
If we did nothing the fondant would harden only with the air but factors such as humidity and temperature influence, not only where you live but the place where you work so it can dry sooner or later, a good solution is to work in the living room if in the kitchen you have the oven on or there is high humidity in general.
So if you don’t have a time problem you can plan and make the decorations two or three days in advance of the moment you are going to incorporate them into the cake so they have the necessary time to dry without you having to do anything, but you wouldn’t be reading this post if you had the time, would you?
The most obvious solution is to work with gum paste that you can spread very thin and dries much faster but the problem for me is the taste and that I always have fondant on hand, so gum paste is not so natural for me so I reserve it for flowers and more delicate works.
So if you don’t have time or gum paste and you need to harden the fondant as fast as possible, keep reading and you will surely find a solution because you will surely have already checked that fondant figures need to be dry to “stick”, so let’s get into it!
BEFORE YOU EVEN THINK ABOUT TOUCHING THE FONDANT…
Even if you don’t have a time problem, there are a few practices you should have internalized before you open the wrapper and get to work with fondant to make the process easier while you let your fondant dry.
USE A FLAT SURFACE FOR DRYING
The surface where you are going to dry the fondant pieces should be clean, dry, and flat, unless you are looking for a specific shape, such as bows in which case you are looking for a means of drying while maintaining the 3D shape.
If you are not careful and let the fondant dry even on paper towels, the texture of the paper may be transferred to the fondant, so if you intend that the piece dries without unwanted textures, verify that the drying space meets the conditions I mentioned before.
TAKE INTO ACCOUNT YOUR ENVIRONMENT
As I mentioned before, the environment and humidity influence the drying of the fondant, so dry and not extreme weather are excellent for drying fondant, but if you live in a humid area no one will get rid of the two days for air drying without any help, this is a very important factor and once you have identified it everything is easier.
But regardless of the weather outside, the best investment you can make in your kitchen is an air conditioner, especially if you are going to dedicate yourself to baking as something more than a hobby, do not underestimate its importance, although an alternative is a dehumidifier to remove excess moisture in the environment, in short, you can create your microclimate in the kitchen.
If you can’t afford one or the other, don’t worry, any of the strategies we will see later will help you to speed up the process and remove the humidity artificially.
KNOW YOUR FONDANT
A post I am aware I have pending is the different types of fondant, let me know in the comments if you want to see it because the drying time is also determined by the composition and ingredients of the fondant.
For example, if the fondant contains chocolate it will dry much faster if you keep it slightly cool and dry, so the methods in which you apply heat will do you more harm than good, the good news is that most of the most common recipes and most popular fondant brands do not contain chocolate so you can use them all almost always.
I have been using the same brand for a long time which gives me security and peace of mind because I know what to expect in any weather and some time ago I experimented with some of the more famous ones and went back to my corner, where I should never have left!
AS FINE AS YOU CAN
The rule is simple, the thinner the fondant the faster it dries, so when the pieces are somewhat thick, in the center it takes a long time to dry even if the rest is dry, give it some more time unless you already have some skill and confidence when working so you won’t be surprised if it breaks and you lose all the work.
This does not mean that you should make the pieces so thin that you compromise the stability of the structure of the piece, but whenever you can, go for the thinner option if you need the pieces to dry quickly.
AS COOL AS POSSIBLE
Finally, the natural heat of your hands makes the fondant increase in temperature too so it is important that your hands are as cold as possible and many times it is enough to wash them with cold water but if we are in the middle of summer and we need the fondant to dry quickly the best thing to do is to give them an ice bath.
Water, ice and a bowl, immerse your hands without overdoing it, make it tolerable and then, the most important thing is that besides being cold they must be very dry, it won’t do you any good to cool your hands if you don’t dry them before working because you may turn the fondant into a sticky mixture.
METHODS TO SPEED UP FONDANT DRYING
Fondant dries outdoors depending on the thickness, climate, and type of fondant overnight (sometimes it needs two days… or three!), at room temperature, it dries naturally without any assistance, but in this post, we will talk about cases where we are in a hurry and give it that little push it needs to speed up that natural process.
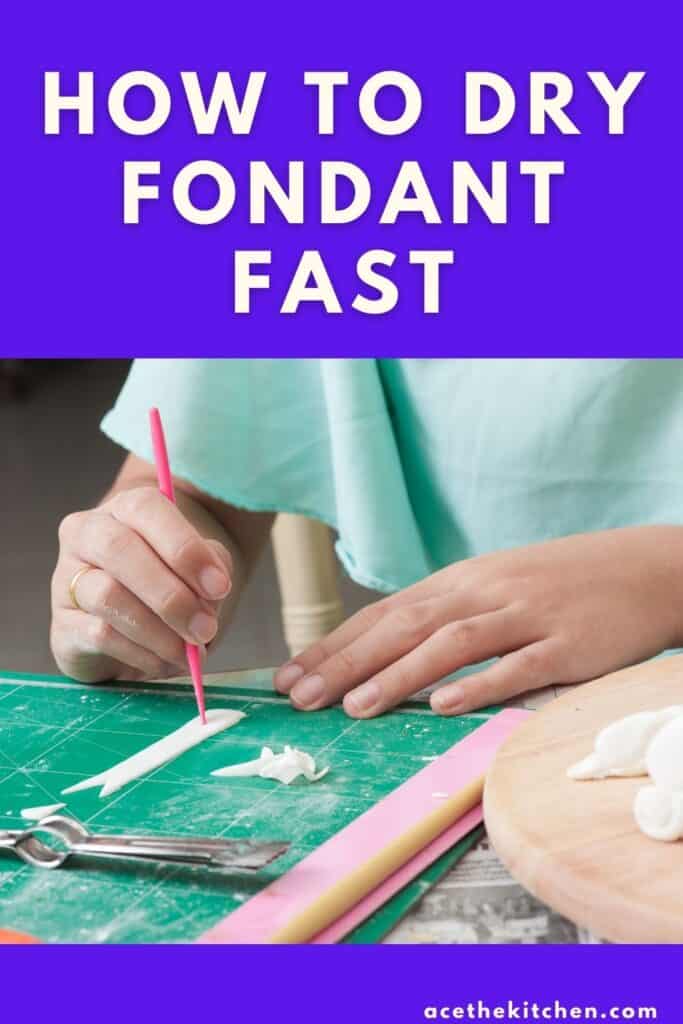
When you work on complex projects, usually flowers, that have several wired petals, each piece is dried separately and then assembled with edible adhesive or with gum paste or CMC mixed with a little water.
So think about it before you start working on the piece, plan what suits you best and whenever you can let them dry separately if you need them to dry fast, it is much easier to dry a petal than a whole assembled flower, basic if what you need is fast drying.


